Your Cart is Empty
SAVE TIME, ORDER ONLINE FOR IN-STORE PICK UP
- Shop
- Shop Supplies
- Shop Color
- Window Treatments
- About Us
- For Professionals
- Festool
- Contact Us
- Store Locator
- Gift Cards
- Find a Painter
- Blog
- Login
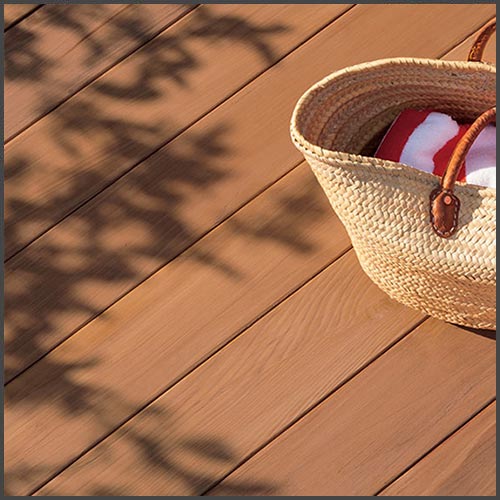
Looking to bring some color to your wood furniture? Wood staining is ideal for bringing in that dark, rich color to a piece of furniture that you want to work on. It may be easy to jump straight away to stain the wood yourself, but don’t neglect the fact that it requires a bit of a process to get the best results. That means knowing what your preference is, the equipmentyou need and information that can help you prevent making mistakes that could damage or ruin the process. Here are 6 DIY tips for staining wood.
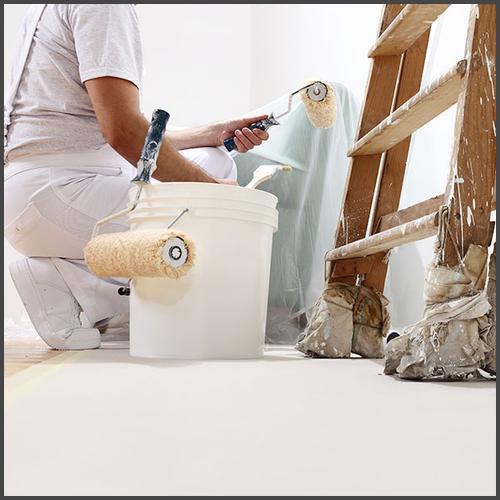
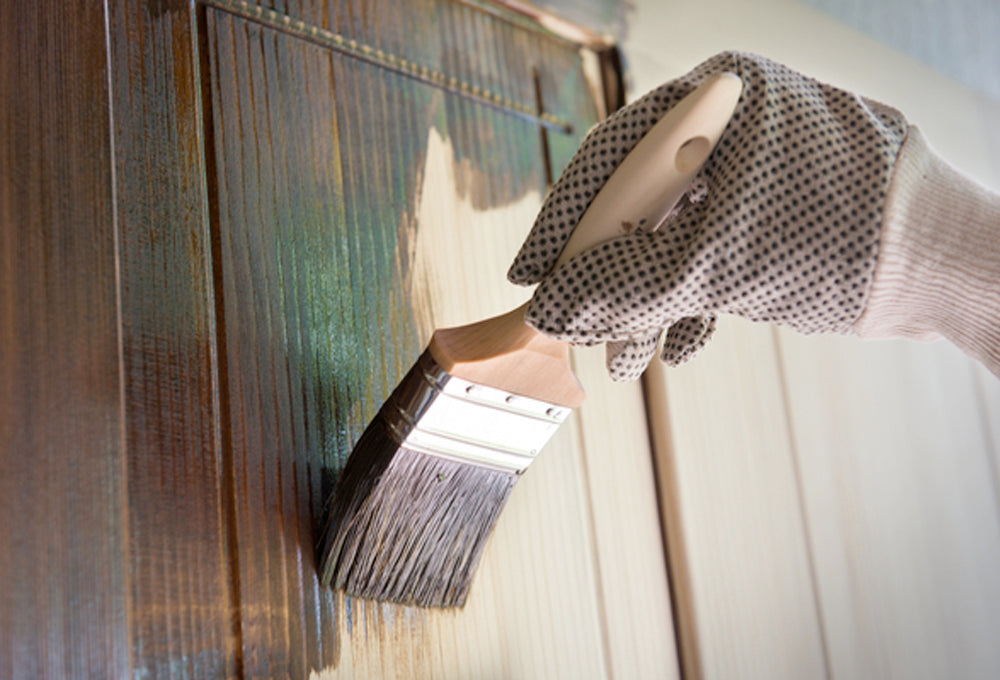
For a DIY person, wood stains may not initially seem very difficult, however, there is little room for error. Stains are permanent and can be very difficult to work with if you don’t plan accordingly. Fortunately, there are some tips that can be taken to alleviate the paranoia of wood staining. Make sure you have protective gear such as gloves, breathing masks, gloves and goggles before staining.
Oil-based stains contain a wide array of dyes, pigments and spirits that bring out the fullest color. However, if you choose to work with oil-based stains it’s important to know there’s less variety of finishes and more fumes when compared to water-based stains. Water-based stains are the best choice since it is similar to water-based paints, meaning they are quick to dry, easy to work with and have a variety of colors – however the final decision will ultimately come down to preference.
Maybe you are unsure about the color or application of the stain you’re choosing. If you don’t want to risk an unfavorable outcome on your project, experiment on a small piece of wood or use an inconspicuous part of the furniture as your test subject. See if the finish agrees with you and work from there.
In case you do make a mistake in the staining process, you can always paint over where you messed up and then try staining again. Be sure to apply even coats to the wood. With a staining brush, you can work with and against the grain. Once applied, you can either let it sit for a darker tone or wipe it off for a brighter look.
You can mix up different finished stains to get a unique result. Whether you’re applying one over the other or directly mixing the stains themselves, there’s always an interesting combination to try out for your decorating endeavors. If staying on the safe side is more of your preference, you can go with the same brand of wood stain. However, it should be advised to never mix water and oil-based paints together. If you want to replicate the result of a mixture, make note of how much you used from each can of stain, as anything over or under what you experimented with can lead to an entirely different result.
While staining wood you’re only adding color to it, not protecting it from any wear-and-tear damage. Unless you have a two-in-one product that can stain and finish simultaneously, you must apply a topcoat to seal it from potential harm. Make sure that the topcoat you purchase is compatible with the stain that you applied to the wood. If you used oil-based paints, you can use a water-based finish but will take about a day or more to dry if conditions aren’t perfect.
Now that you have an idea of what to do for staining furniture, the most crucial step is finding a store that provides the best quality selection of stains to choose from. If you are looking for high quality paints and stains, then Gleco Paint should be your location of choice. Contact us if you have any questions or need assistance from one of our specialists for expert advice.