Your Cart is Empty
SAVE TIME, ORDER ONLINE FOR IN-STORE PICK UP
- Shop
- Shop Supplies
- Shop Color
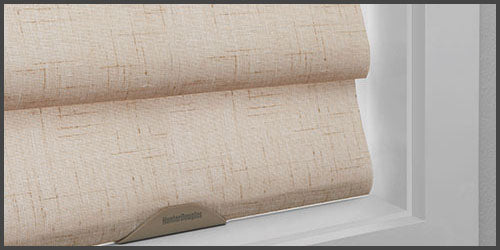
- Window Treatments
- About Us
- For Professionals
- Festool
- Contact Us
- Store Locator
- Gift Cards
- Find a Painter
- Blog
- Login
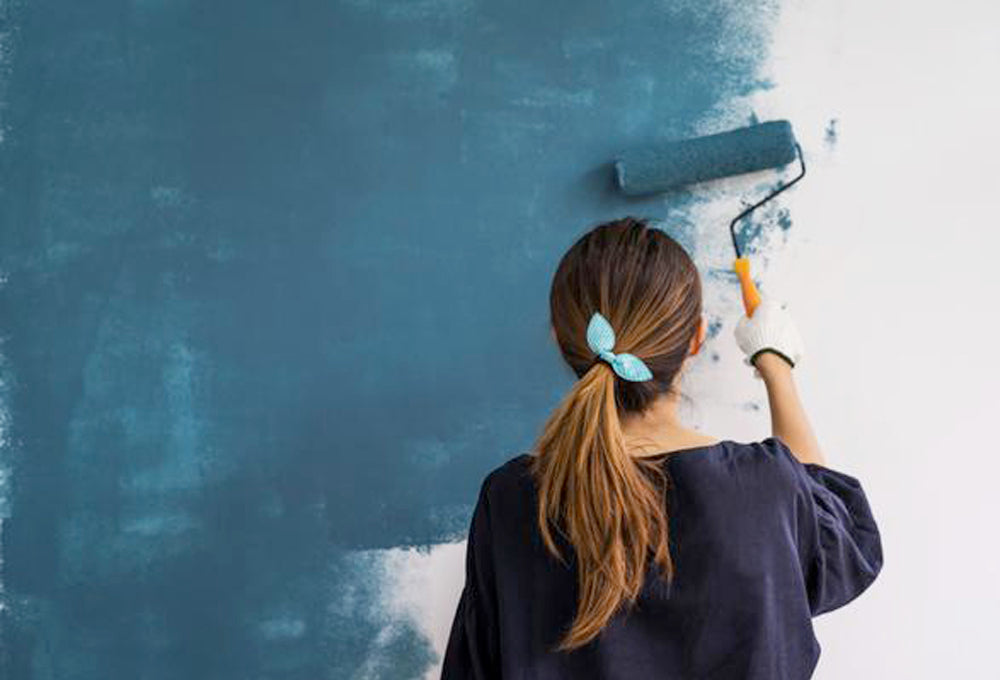
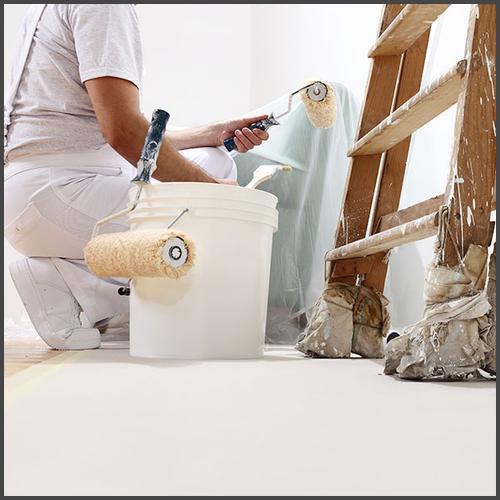
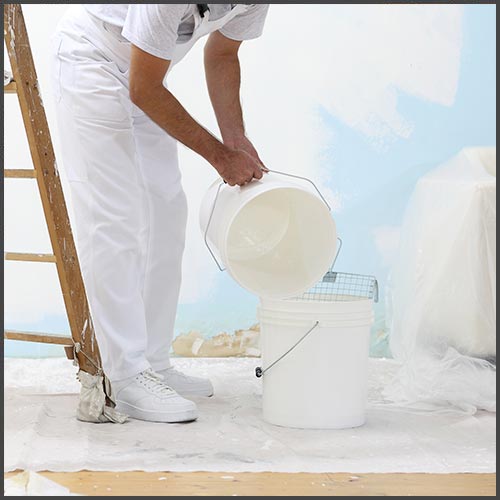
You just completed your exhausting living room paint session. Relieved, you crash on the couch for a quick coffee break. After a short while, you revisit your coloring progress to discover small paint bubbles appearing across the walls, with drip stains inching down the surface. Don’t panic! A botched paint job happens more often than you think. Regardless of your decorating expertise, periodic painting mishaps may happen from time to time. Whether you’re adding dramatic color to a muted room or lightly revamping your favorite shade, explore these five simple tips to help your drab space transform into a professional finish.
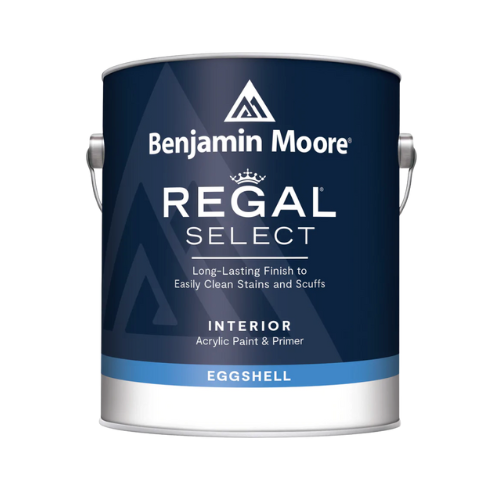
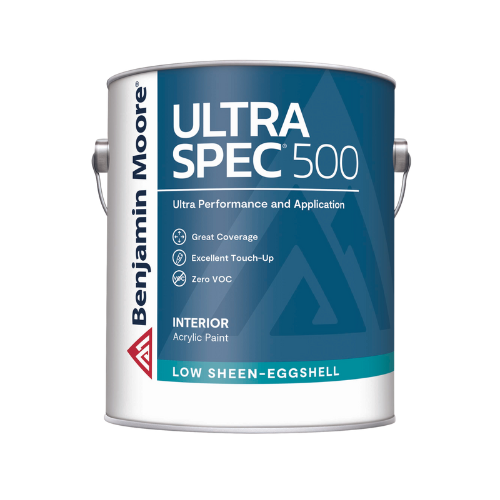
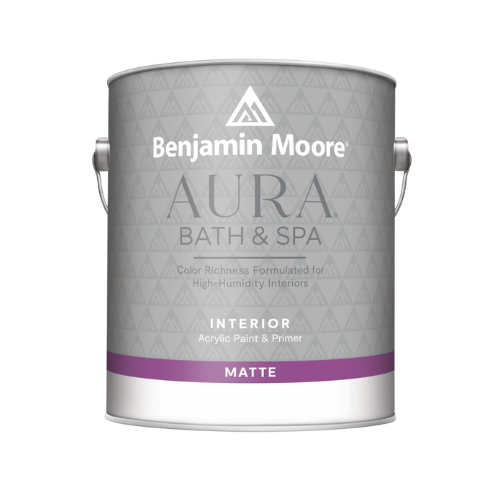
If your top coat of fresh paint does not effectively bond with the undercoat, paint blisters or bubbles can appear on the surface of your wall. When you discover these bubbles, you need to determine the underlying cause. Most bubbles or blisters appear from a heat or a moisture issue. In some cases, the second coat was applied before the base coat was completely dried. Also, subjecting latex paint to moisture shortly after the paint has dried may result in paint bubbles.Another cause, can be , a contaminant on the wall. Once you have determined the culprit, begin to gently scrape the blisters and bubbles off with a paint scraper. Once all the blemishes are scraped off, sand the service for an even base to paint over. It is always a good idea to lightly sand and prime when starting a paint project. If the room is especially humid,consider installing exhaust fans or vents to help the air flow and speak to your Gleco salesperson about the proper paint for a high moisture area. Aura bath & Spa is specifically formulated for just such an area.
The key to successful paint job is to apply the correct amount of paint to a surface. If you do not administer enough paint layers to your wall, your paint job can begin to look patchy with pieces of color bleeding through from the prior finish. Your wall may seem uniform and even from a distance, however the coat will not be polished and a close-up it will show its unevenness. To correct this error, allow the paintto dry entirely before reapplying, then once the coat is dry and ready, add your second coat.Using a primer as your first coat will alleviate the problem, however, make sure you are using the proper roller cover, as this can effect the paint coverage. Check with your local Gleco Paint store and they can guide you toward the right paint and supplies for your job.
It can be frustrating to complete yourpaintingproject only to find splashes of pigment on your window or floor. Not to worry! First you should allow the paint droplets to dry fully, then carefully scrape off any unwanted spots with a razor blade guided at an angle. When completed, carefully wipe off any excess paint on the razor blade with a damp cloth. Another way to remove paint splatters is using steel wool or any all-purpose cleaner to remove any undesired speckles quick and efficiently. Before starting a paint project, have your tools ready and always have a damp cloth. If you wipe up drips right away, you won’t be scraping later.
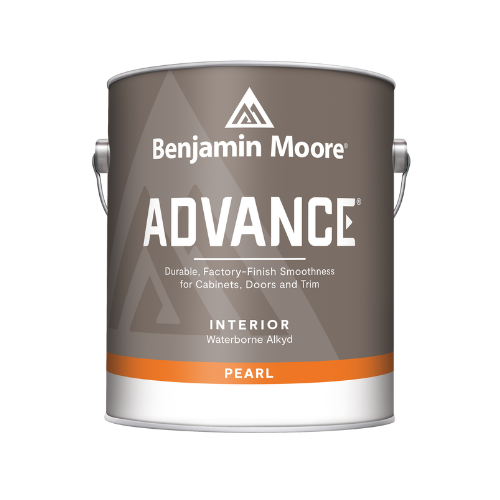
When cautiously working around trim work, it is vital to have a damp rag on hand. That way, if you unintentionally get paint on the trim, you can promptly wipe your slip-up and continue painting. If you stumble upon a dried spot and are unable to wipe it off with the wet cloth, simply sand the blot off and remove the leftover dust particles by using the damp cloth to wipe down the surface. After, when the area is smooth and dry, be sure to retouch the coat withtrim paint to preserve a glossy shine.
If you overload yourbrush with too much paint or paint over an existing coat without waiting for the surface to dry, you can end up with drips. To properly fix this, you must hold off on painting until the section has dried completely, then delicately scratch the drips off with a paint scraper and smooth the area with sandpaper. When finished, you can thoroughly repaint the area while shading the spot with the rest of the surface. In the future, be sure to thin out the drip of your brush by gently tapping against the side of your cut in cup to avoid this issue.